The Art of Puzzles, The Puzzle of Art
This week wasn’t spent writing code or tinkering with QuickBASIC. Of course, I knew what I wanted to do when I last worked on the game code. But it was just really rough and not well thought out. So I stepped back from the routines to focus on actual game design, sitting down to map out a Puzzle Dependency Chart to figure out what the player actually needs to do.
Looking at the resulting chart makes one thing immediately obvious: the game is going to be short. Truth be told, an adventure this compact probably doesn’t strictly need a formal dependency chart. But as part of the ritual of “pretending I’m a real game dev,” having one felt mandatory. Besides, Ron Gilbert insists you always need one. And who am I to argue with Ron? So now I have one.
Behold:
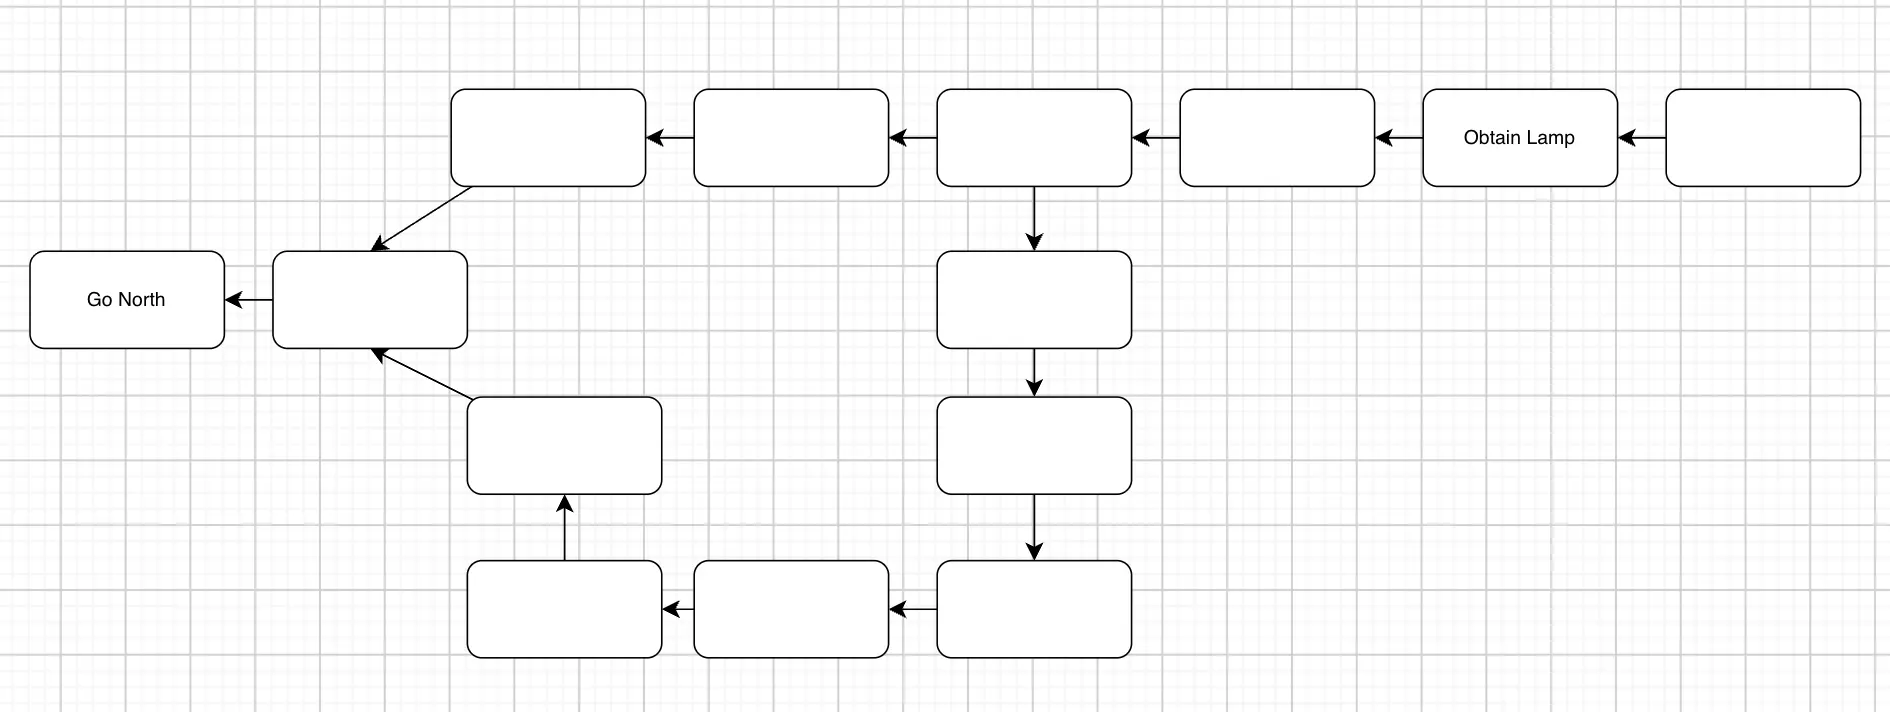
(redacted chart to avoid spoilers)
Keeping the scope small was intentional from day one. Not because of 640KB DOS memory barriers or hardware limitations, but because I actually have to build all this stuff. It’s dangerously easy to invent worlds in your head, only to wake up in a cold sweat realizing you still have to draw every single room and object. The single most dreaded word in solo game development: assets. Well, at least for me. I’m sure there are people who are afraid of programming code. Or playtesting. Or sales.
“Hang on. Assets? I thought it’s a text adventure.” Well, it is. But with graphics. Shut up.
I am not an artist. Decades ago, I did a lot with Deluxe Paint on the Amiga and in DOS, occasionally pushing pixels for the demoscene before realizing that despite daily practice, my skills weren’t producing anything truly usable. So how on earth was I going to produce art for an entire game, completely on my own?
With AI, of course! Well, the old school kind of AI: just fucking Attempt It.
Inking in Procreate
Years ago, I purchased Procreate for my iPad, and recently decided to finally give it a try. I see my daughter constantly working with it since the age of six, so it seems to be very accessible. Back in high school, I took technical drawing and wasn’t half bad at it, so plotting perspective, parallel lines, and geometric shapes comes relatively naturally. But geometry is only a tiny fraction of what visual art actually requires. The moment my physical hands are involved (sketching, painting, crafting… crafts was easily one of my worst subjects in school), everything falls apart. On real paper without a ruler, my lines look like a seismograph during an earthquake. Reading my own handwriting? Forget it. It’s terrible. (Which is precisely why I love computers: they make up for my two left hands and still let me create things.)
To my complete surprise, Procreate, and presumably any modern drawing app with pen support, met me more than halfway. It automatically smoothed out my shaky strokes, snapped curves into place, picked PERFECT stroke widths, and suddenly made my lines look intentional and clean. I had no idea stylus tech had evolved this much. Naturally, I immediately fell down a YouTube rabbit hole and binged tutorials (“Hey guys!”), mainly trying to grasp the program’s fundamentals.
I knew from the start that whatever I drew in Procreate couldn’t be used directly in the DOS game. But at the very least, it would produce a visual foundation to base the final pixel art on. Or, in a worst-case scenario, hand over as a briefing to a real artist. But I’m not ready for Plan B yet.
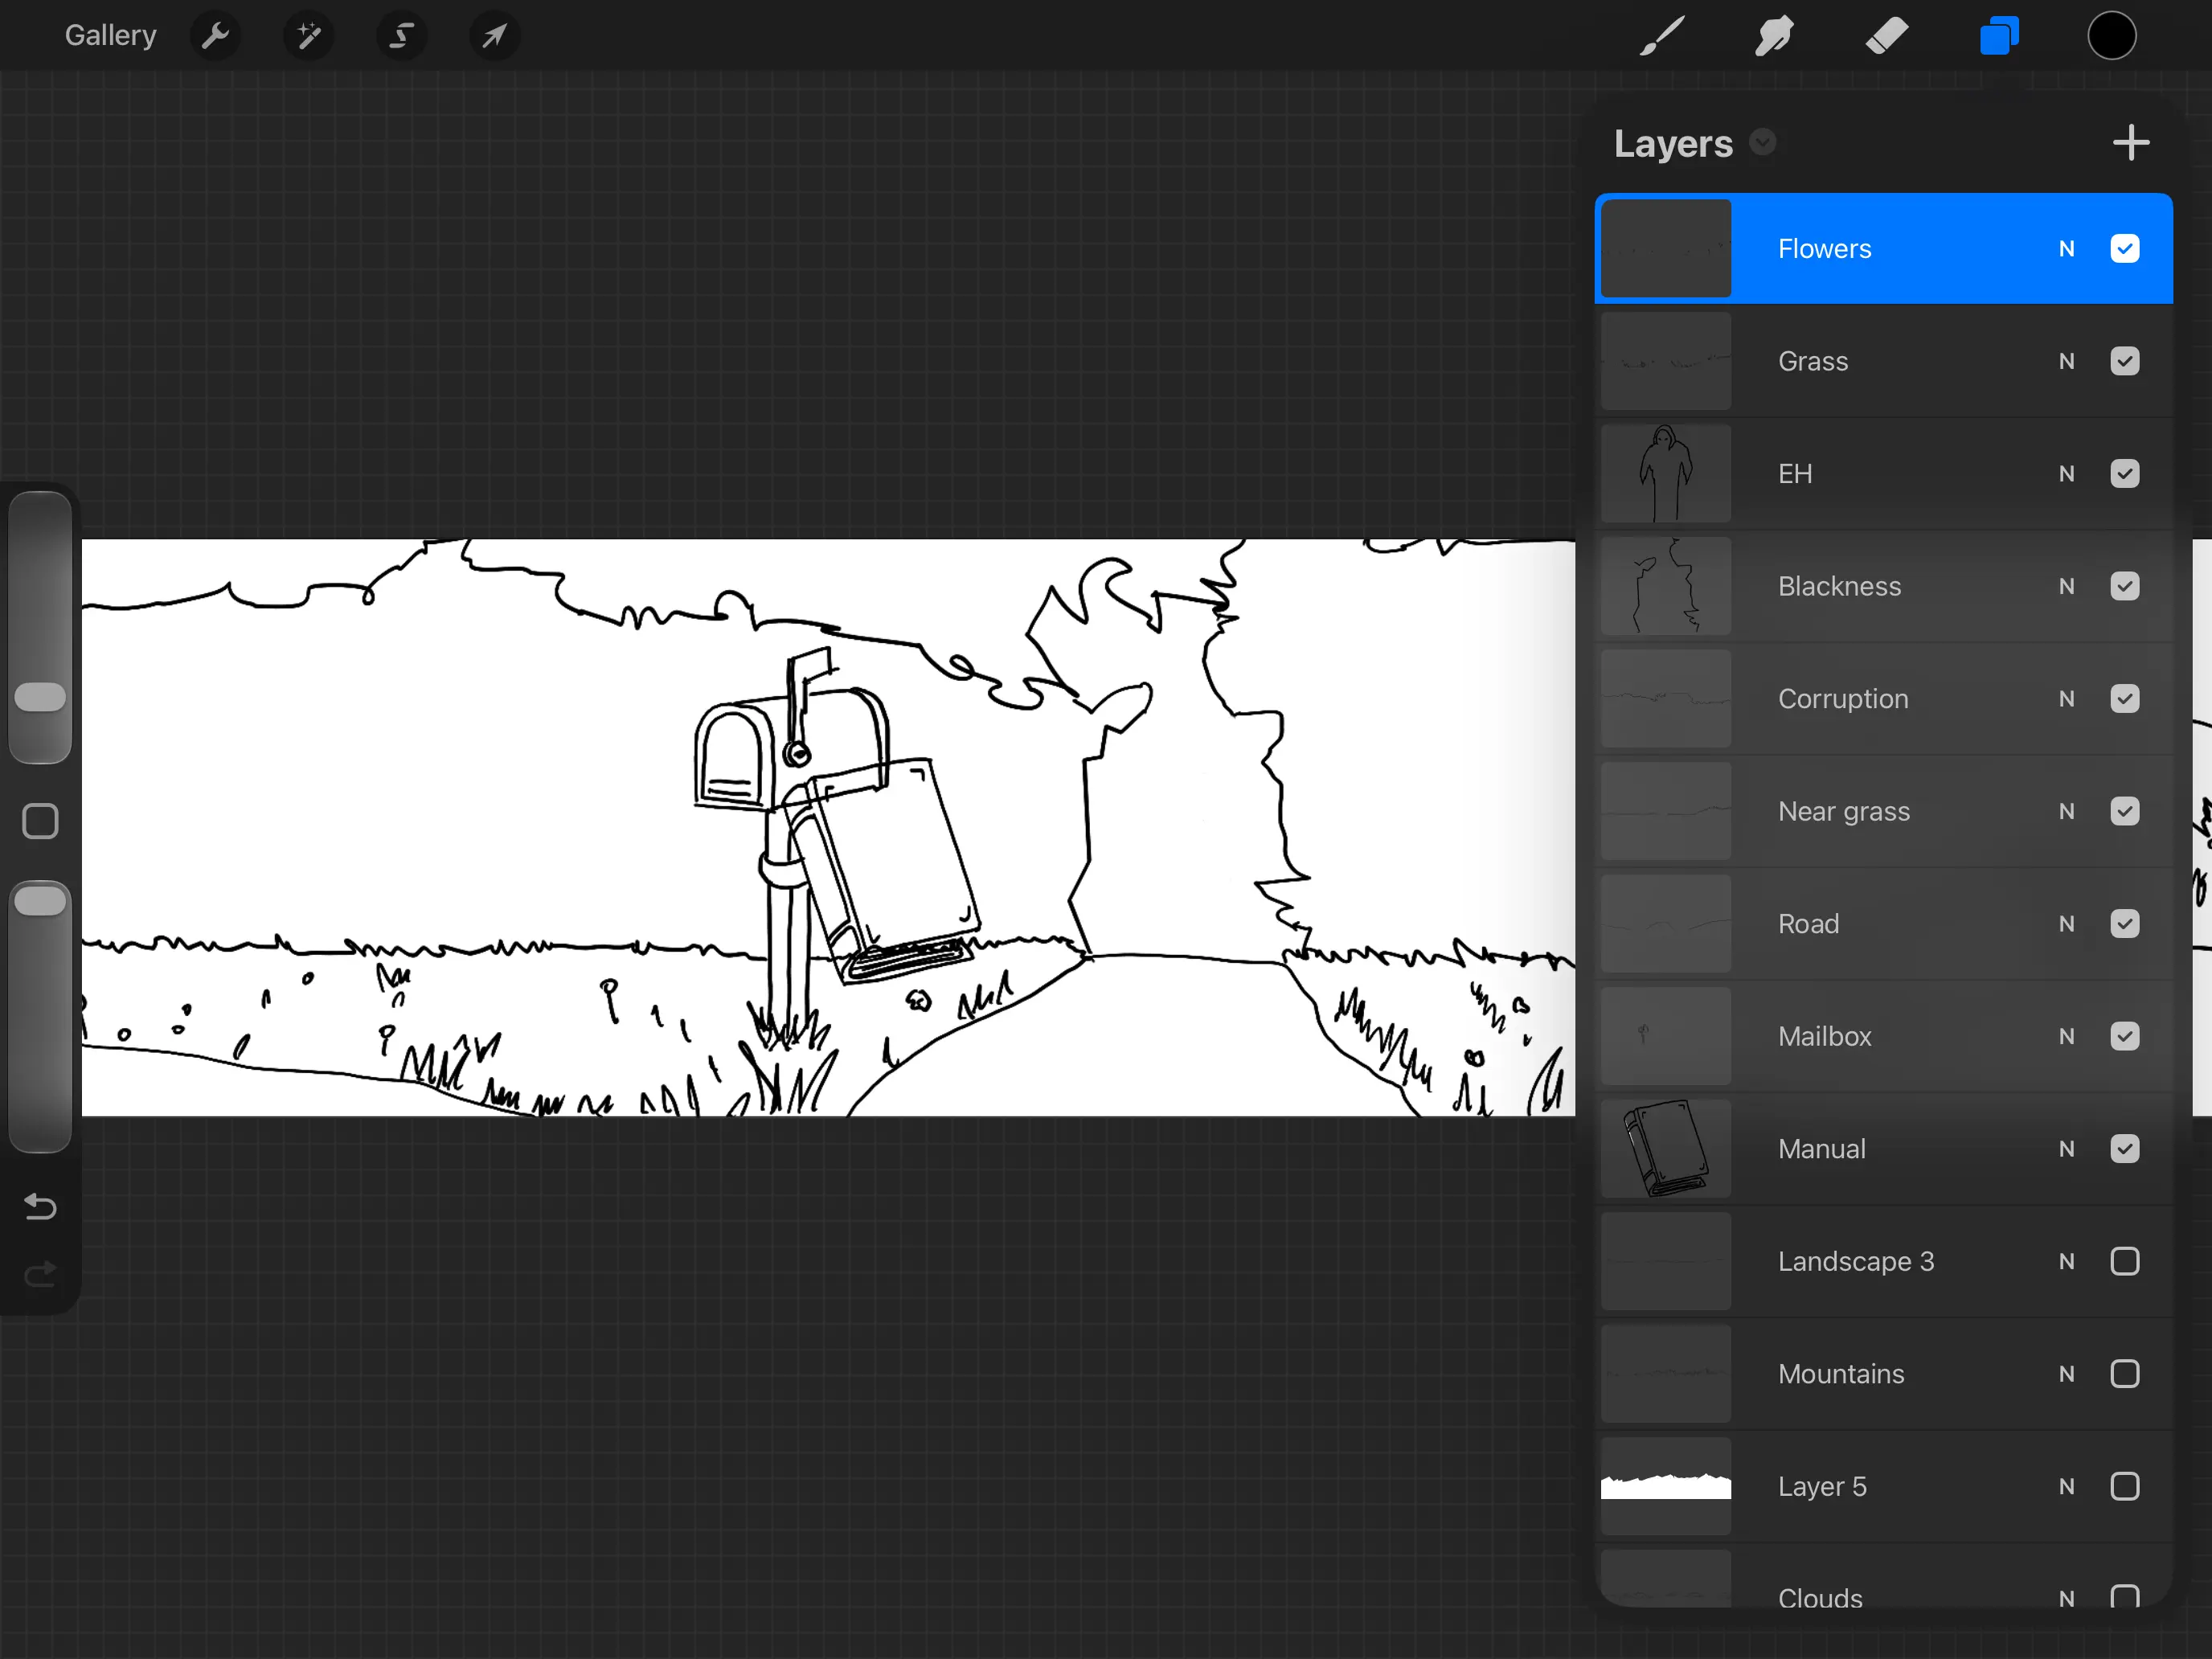
After finishing the outlines for a handful of rooms (or “inking” them, to borrow the tutorial lingo), the next hurdle hit me. Outlines simply do not work when scaled down to low resolutions, so the scene has to be built out of solid colored shapes.
Coloring: Flatting Hell
Even before watching the tutorials, my programmer instinct kicked in: keep distinct objects on separate layers so future-me wouldn’t suffer. Whether these sketches could eventually be “VGA-ified” into 320x200 screens remained an open question, but separating elements felt like a good plan.
The first step was finding and configuring suitable brushes. That turned out to be an entire influencer marketplace in itself. Every YouTube tutorial seems to exist solely to sell you their custom brush sets. Some creators even sell dedicated pixel art brushes. There are plenty of free packs out there, but I didn’t need to obtain any. It’s quite easy to build your own brushes or just use the default ones.
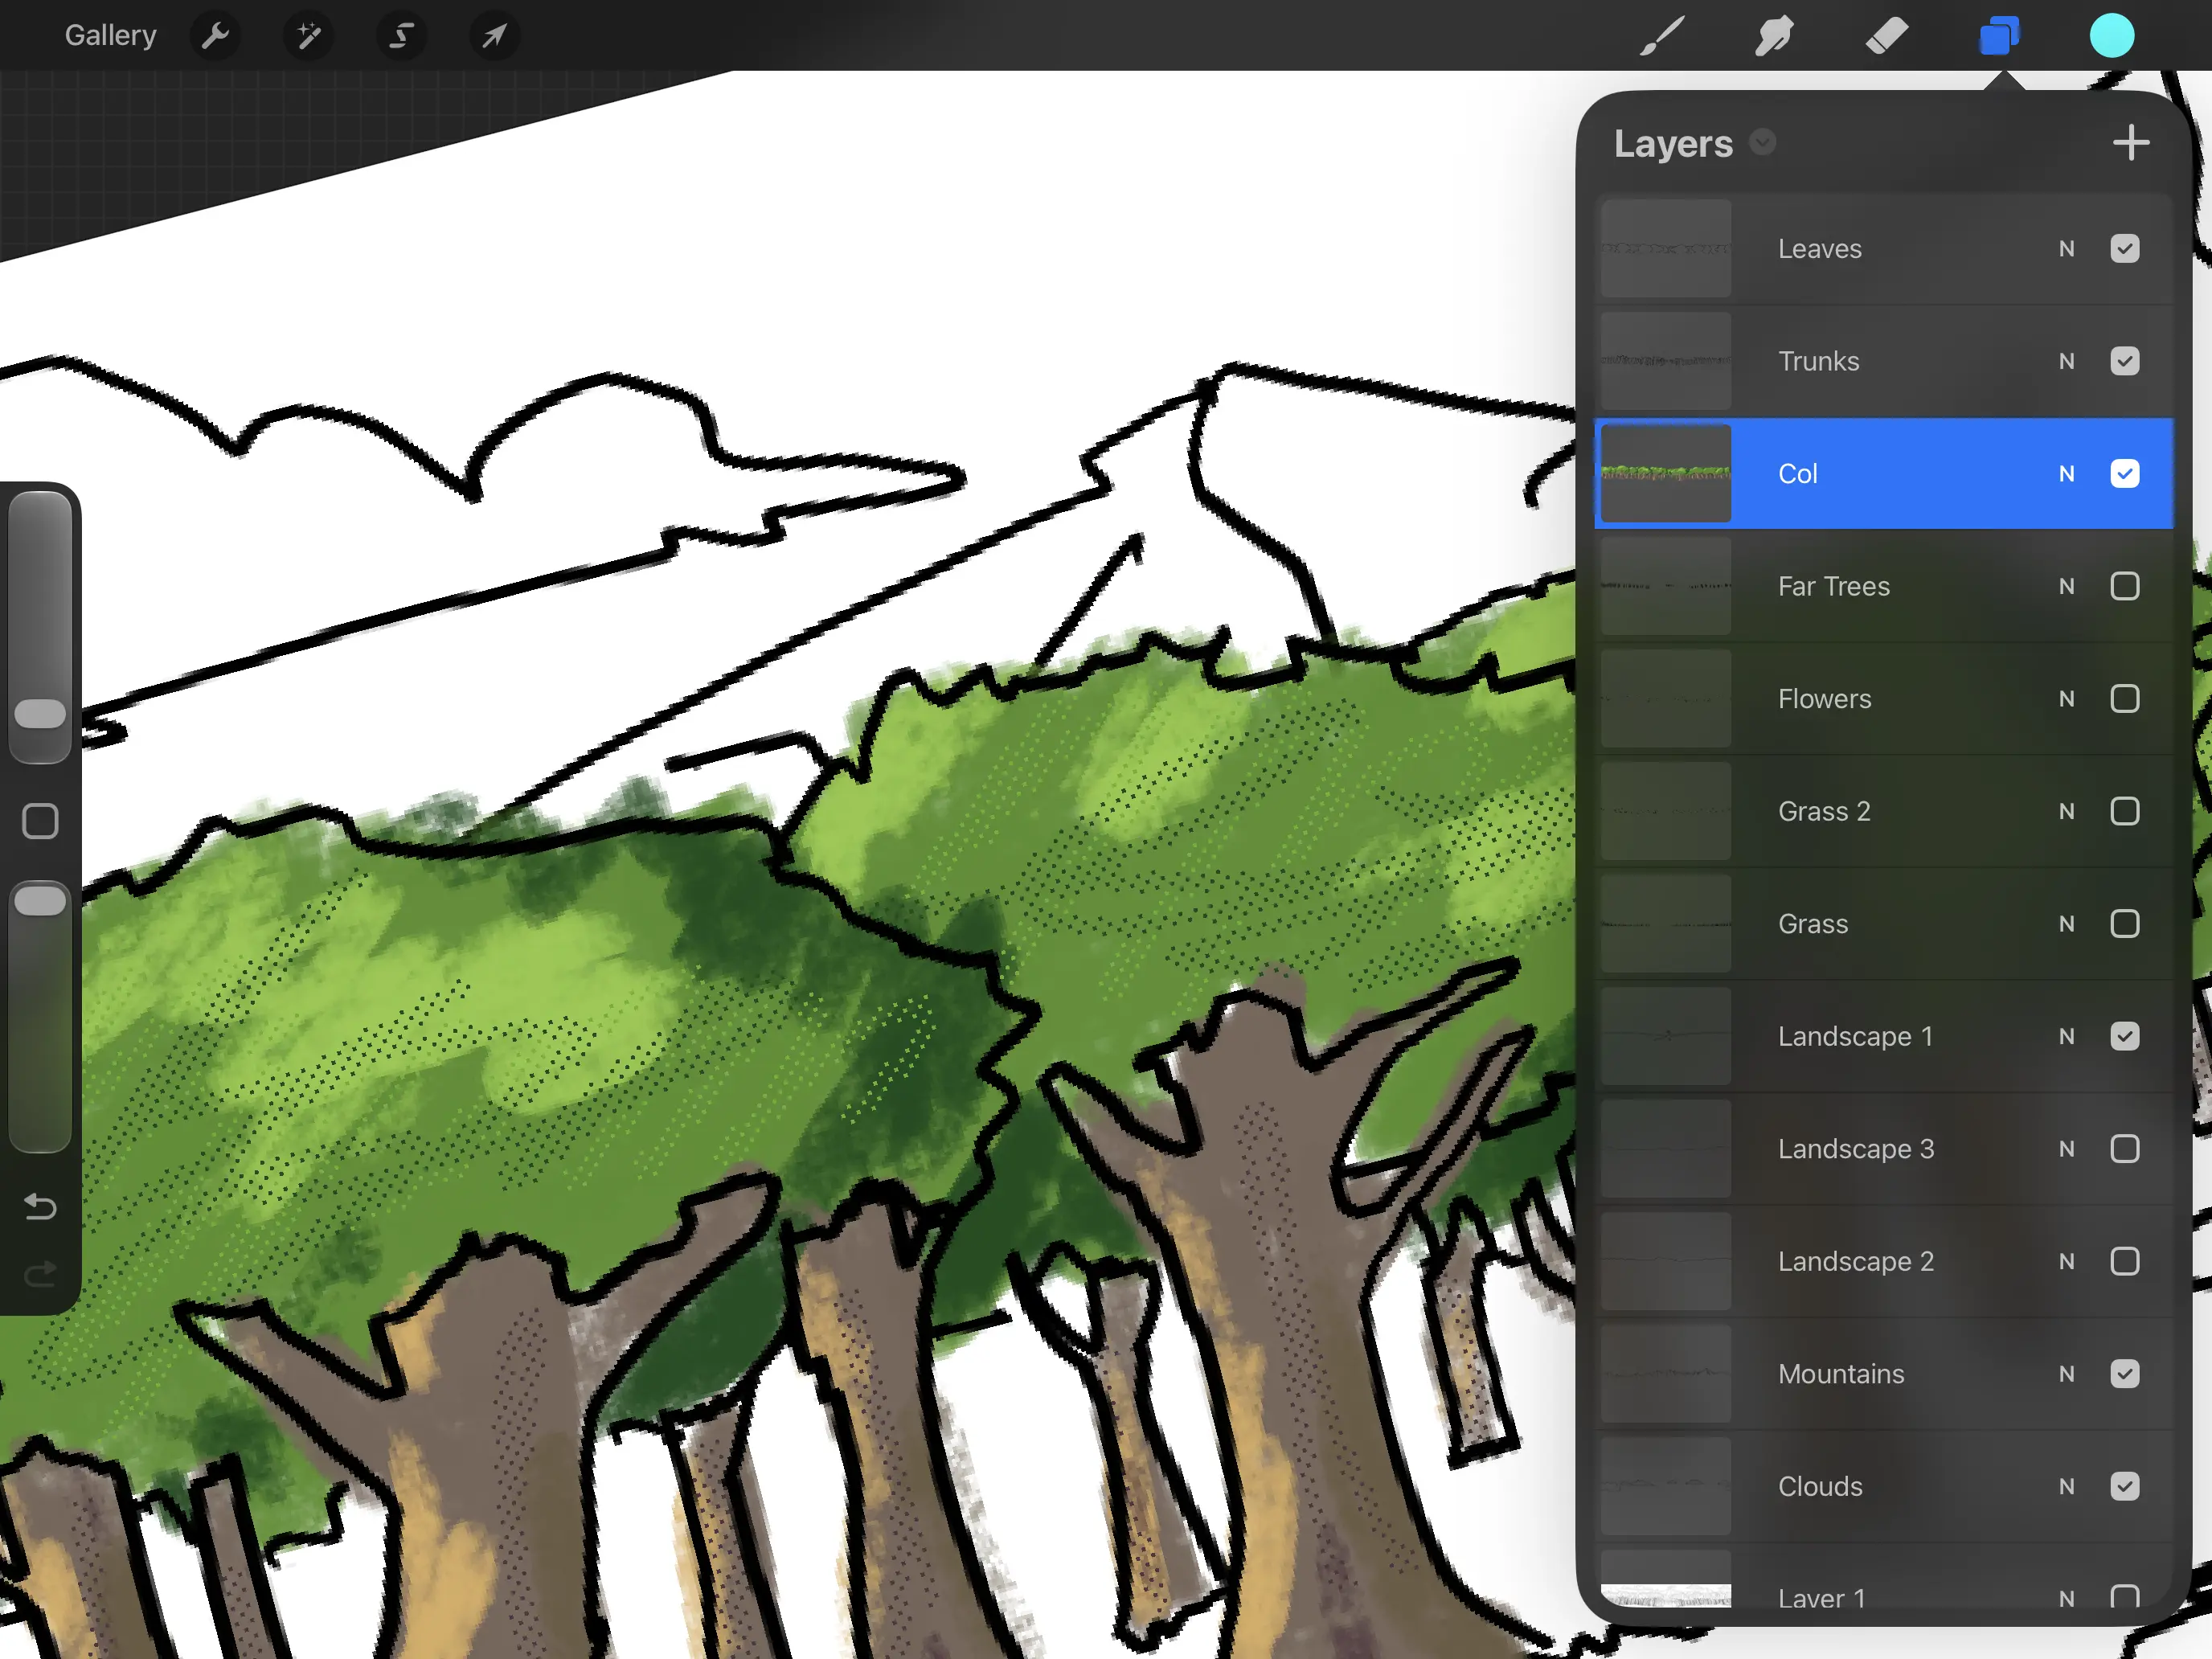
In theory, the coloring process is straightforward: you lay down flat colors on layers underneath your outlines (look at me, explaining this to you like I’m a seasoned expert now!). Eventually, those dark outlines will need to disappear, leaving only colored shapes (look at me, describing art). In practice, this turned into an agonizing loop: paint flat colors, hide the reference line layer to check the edges, unhide the neighbouring layer to fix the bleed, and repeat. My impatience was eating me alive.
You can prevent paint from spreading into other areas by creating selection areas and only painting inside them, but managing selections in Procreate quickly became pure friction. Making a quick lasso selection for one object is easy enough, but you can’t easily save and reload selection masks. That meant constantly re-selecting the exact same boundaries over and over again. My “this could be automated” brain kicked in constantly. As I said, I’m not an artist.
Committing to the Desktop
Coloring was proving far more tedious than expected. Feeling quite restricted by the tablet workflow, I decided to move over to the desktop early, hoping Pixelmator Pro on macOS would let me block in basic colors and get a feeling for each scene.
I imported the inked, partially colored sketches onto my Mac and set to work refining the details. Moving to the desktop was simply a one-way street that required committing to a decision: because both programs rely on their own proprietary file formats, there was no practical way to round-trip layers back to the iPad once exported. I had to accept that the sketching phase was done and all remaining work would happen here. (It is perhaps the single grudging compliment I can pay the Adobe ecosystem: a Photoshop file can travel back and forth anywhere in your workflow without burning bridges.)
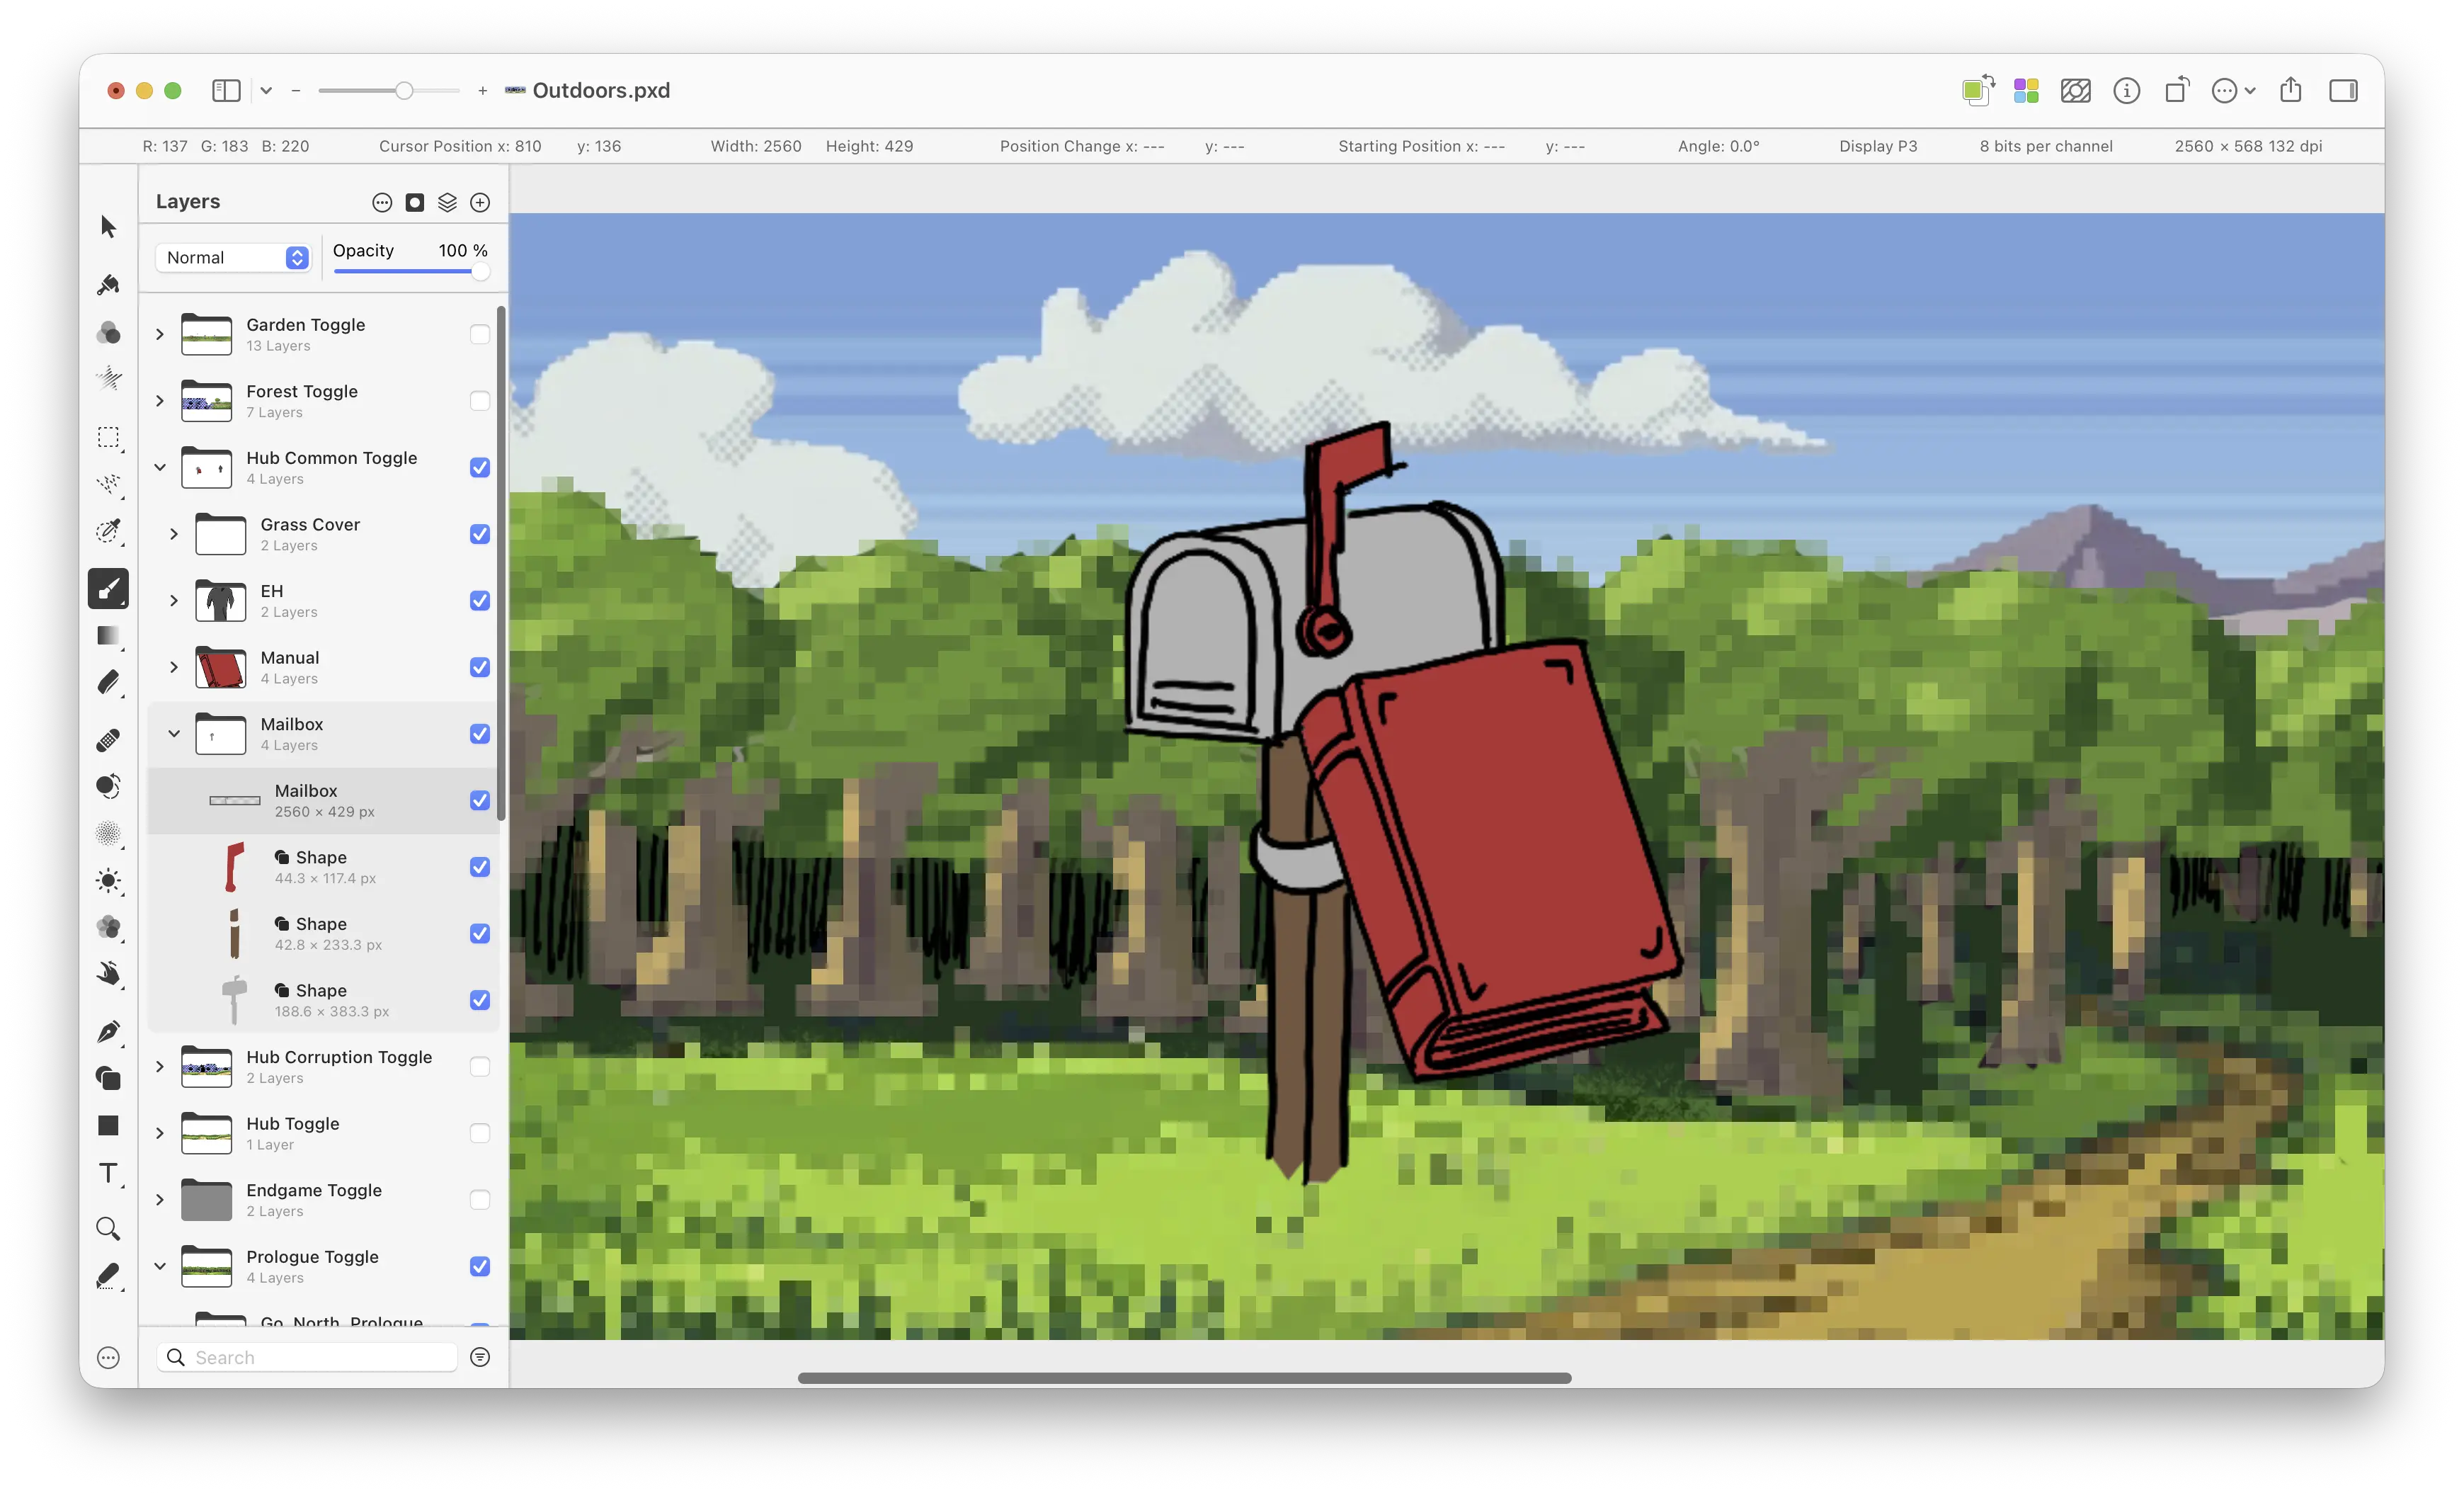
Once I accepted that I was committed to Pixelmator, things improved a lot and fun kicked in again. The non-destructive pixelation live filters helped a lot, and with vector shapes in place, changing colors or adding gradients was much easier and exactly the kind of experience I was looking for.
I cleaned up almost all scenes this way, leaving only two remaining rooms to design. With everything I’ve learned, though, I’m actually looking forward to tackling those. I think I’ll also try using Sidecar to turn my iPad into an external graphics tablet on macOS next time. That would allow me to draw with the Apple Pencil directly into Pixelmator layers.
The whole process was an immense time sink. I’m sure experienced artists knock out this kind of preparatory mock-up in no time. For me, it took hours upon hours of trial, error, and tool friction. Still, the real work is finally within reach. The plan now is to use Aseprite to flesh out the actual pixel graphics. A few initial experiments went surprisingly well, and I can hardly wait to get started.